


Overview
The User Management system provides comprehensive control over system access with role-based permissions, multiple authentication methods, and detailed activity tracking. Each user can have associated vehicles, access cards, and entry/exit records.
Key Features:
- Role-Based Access Control: Assign granular permissions through customizable roles
- Dual Authentication: Support for standard passwords and LDAP integration
- Activity Tracking: Monitor events, entries, vehicles, and access cards per user
- Timezone Support: Per-user timezone with daylight savings adjustment
- Notification Management: Individual notification preferences
Viewing Users
Access the users list from Settings → Users. The table displays all system users with their key information.
User List Columns
- Name: Full name of the user
- Username: Login username for authentication
- Email: Contact email address
- Status: Active (green) or Inactive (red)
- Role: Assigned role defining permissions
- Creation Date: When the user account was created
Search and Filter
Use the search bar to find users by name, username, email, or role. Results update in real-time as you type.
Creating Users
Click the "Add User" button in the top right corner to create a new user account.
Required Fields
- Name: Full display name for the user
- Username: Unique login identifier (cannot be changed later)
- Email: Valid email address for notifications
- Role: Assign appropriate role for permission level
- Password: Minimum 6 characters (not required if using LDAP)
- Password Confirmation: Must match password field
Step-by-Step Process
- Click "Add User" button
- Choose authentication method (Standard or LDAP)
- Fill in basic information (Name, Username, Email)
- Select appropriate Role from dropdown
- Set Status to Active or Inactive
- Configure preferences (Notifications, Timezone)
- If using standard auth, enter and confirm password
- Click "Save" to create the user account
Authentication Methods
LEXOH supports two authentication methods: Standard password-based and LDAP integration.
Standard Authentication
Users log in with username and password stored in the LEXOH database.
- Password Requirements: Minimum 6 characters
- Password Storage: Encrypted using industry-standard hashing
- Password Reset: Edit user to change password
LDAP Authentication
Integrate with Active Directory or other LDAP servers for centralized authentication.
- Centralized user management across all systems
- No need to manage passwords in LEXOH
- Automatic password policy enforcement
- Single sign-on capabilities
Enabling LDAP for a User
- Open user edit dialog
- Toggle "Use LDAP" switch to enabled
- Password fields become optional (hidden)
- Ensure username matches LDAP username exactly
- Save the user account
Roles & Permissions
Roles define what actions a user can perform and what data they can access. Assign roles based on job responsibilities.
Common Roles
- Administrator: Full system access including user management, settings configuration, and all features
- Manager: Access to operational features, reporting, and customer management without system settings
- Operator: Day-to-day operations like issuing access cards, viewing entries, managing customers
- Viewer: Read-only access for monitoring and reporting purposes
Tab Visibility Based on Permissions
When viewing a user's details, available tabs depend on your role permissions:
- Information Tab: Always visible (basic user details)
- Events Tab: Requires "View Events" permission
- Vehicles Tab: Requires "View Vehicles" permission
- Access Cards Tab: Requires "View Access Cards" permission
- Entries Tab: Requires "View Entries" permission
User Preferences
Configure individual settings for each user to personalize their experience.
Status
- Active: User can log in and access the system
- Inactive: Login disabled, user cannot access system (use for temporary suspension or departed employees)
Notifications
Enable or disable email notifications for this user. When enabled, the user will receive notifications about system events, alerts, and important updates based on their role and assigned responsibilities.
Timezone
Set the user's timezone to display dates and times correctly in their local time. This affects all timestamps shown in the interface and reports.
- Adjust Daylight Timezone: Automatically adjusts for DST transitions
- Daylight Offset: Hours to add/subtract during DST (typically +1 or -1)
User Detail Tabs
When viewing or editing a user, multiple tabs provide comprehensive information and management capabilities.
Information Tab
Always available. Contains basic user details, authentication settings, role assignment, and preferences.
Available Tabs
- Events: View all system events associated with this user (entries, exits, errors, warnings)
- Vehicles: Manage vehicles registered to this user
- Access Cards: View and manage access cards issued to this user
- Entries: Complete entry/exit history with payment information
Vehicles Tab
View and manage all vehicles registered to the user. Each vehicle can be tagged and used for access control.
Adding Vehicles
- Navigate to user's Vehicles tab
- Click "Add Vehicle" button
- Enter plate number, brand, model, year, and color
- Optionally assign tags for categorization
- Save the vehicle
Vehicle Actions
- Edit: Modify vehicle details
- Delete: Remove vehicle from system (requires confirmation)
- Export: Export user's vehicle list to Excel
- Search: Real-time search across all vehicle fields
Pagination
Vehicle list supports pagination with customizable rows per page (10, 25, 50, 100). Page preference is saved per user session.
Access Cards Tab
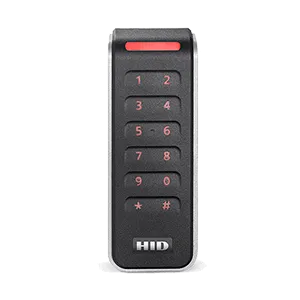
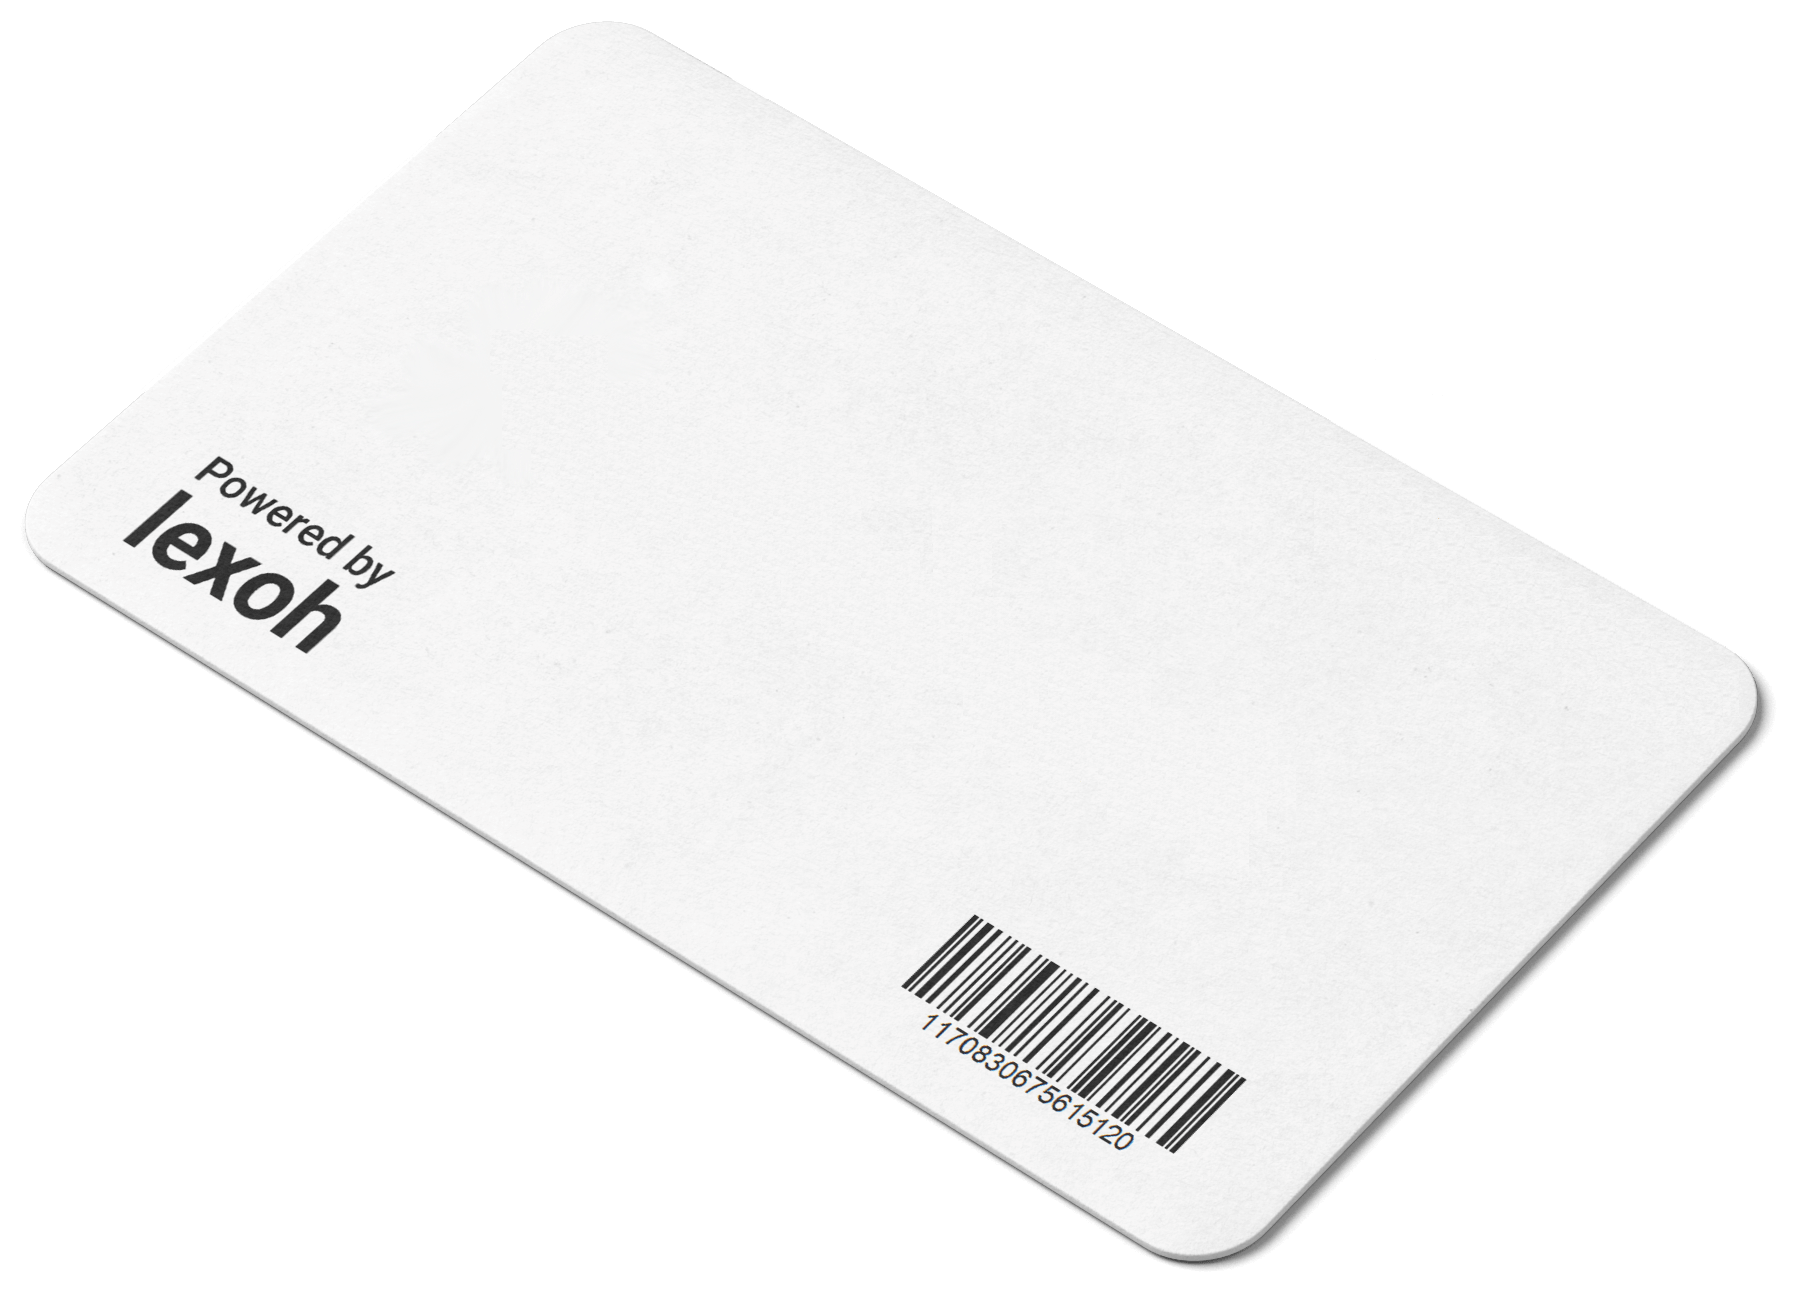
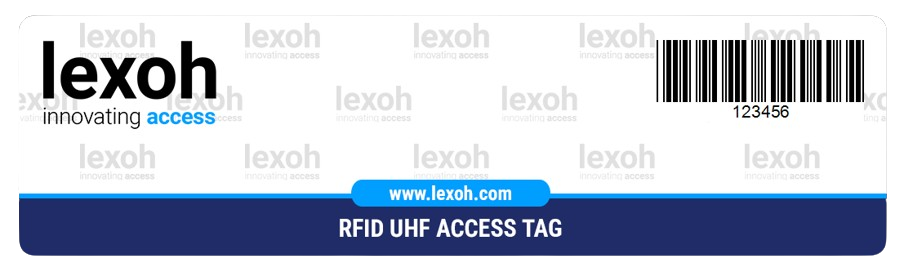
Manage all access cards issued to the user. Supports QR codes, RFID cards, RFID tags, and UHF tags.
Access Card Types
- Static QR: QR code that doesn't change, can be printed
- RFID Card: Physical card with embedded RFID chip
- RFID Tag: Small tag format (key fob, sticker)
- UHF Tag: Long-range RFID for automated vehicle access
Advanced Filtering
The Access Cards tab includes a comprehensive filter panel with 9 filter options:
- Status: Active or Inactive cards
- Type: Filter by access card technology
- Last Visit: Date range of last usage
- Entry Date: When card first entered
- Exit Date: When card last exited
- Validation Date: When card becomes active
- Expiration Date: When card expires
- Currently Inside: Yes/No filter for cards inside facility
- Last Visited Zone: Filter by specific zone
Card Actions
- Edit: Modify card details, dates, and settings
- Delete: Permanently remove access card
- Print: Print QR code or card details
- Export: Export filtered list to Excel
Events Tab
Comprehensive event log showing all system events associated with the user's access cards and activities.
Event Types
- Information: General informational events (teal)
- Entry: Successful entry through gate or door (blue)
- Exit: Successful exit from facility (green)
- Payment: Payment transaction events (purple)
- Error: Access denied or system errors (red)
- Warning: Potential issues or anomalies (orange)
Event Filtering
Filter events by:
- Event Type: Information, Entry, Exit, Payment, Error, Warning
- User Type: Staff User, Customer, Guest
- Date Range: Start and end dates
- Devices: Filter by specific access control devices
- Access Cards: Filter by card used
- Tags: Filter by assigned tags
- Zones: Filter by facility zones
Entries Tab
Complete entry/exit history for the user including parking duration and payment information.
Entry Information
Each entry record includes:
- Entry timestamp (date and time)
- Exit timestamp (if completed)
- Duration (calculated automatically)
- Device used for entry/exit
- Zone accessed
- Transaction amount
- Payment status (Paid/Unpaid)
Entry Filtering
- Devices: Filter by entry/exit devices
- Tags: Filter by entry tags
- Zones: Filter by parking zones
- Date Range: Start and end dates for entries
- Transaction Amount: Min/Max dollar range
- Payment Status: All, Paid, or Unpaid
Best Practices
Follow these guidelines for effective user management and security.
Security Best Practices
- ✅ Use strong passwords with minimum 8 characters including uppercase, lowercase, numbers, and symbols
- ✅ Regularly review user accounts and remove access for departed employees immediately
- ✅ Apply the principle of least privilege - grant minimum necessary permissions
- ✅ Consider LDAP integration for large organizations to centralize authentication
- ✅ Monitor inactive accounts and disable them after extended non-use
Organization
- ✅ Use clear, consistent naming conventions (FirstName LastName)
- ✅ Assign roles based on job function, not individual users
- ✅ Document role definitions and permission levels
- ✅ Conduct quarterly access reviews
Maintenance
- ✅ Keep user contact information current
- ✅ Review and update role assignments when responsibilities change
- ✅ Archive or delete accounts for departed employees
- ✅ Monitor the activity logs for suspicious patterns
Common Mistakes to Avoid
- ❌ Using overly permissive roles for all users
- ❌ Sharing login credentials between multiple people
- ❌ Leaving inactive accounts enabled
- ❌ Not configuring timezone properly (causes timestamp confusion)
- ❌ Ignoring notification settings (missing critical alerts)
Troubleshooting Common Issues
- User can't log in: Verify account is Active, check username spelling, reset password if using standard auth
- Missing tabs in user detail: Check if you have required permissions to view that data type
- LDAP authentication failing: Verify LDAP server is configured, username matches LDAP exactly, network connectivity is available
- Wrong timezone in reports: Update user's timezone setting in Preferences section
Users Configured!
Your user management system is ready. Continue with role configuration and access card setup.